When I was first married, I dreamed of having a designer looking Christmas tree. I remember seeing a beautifully decked out Christmas tree at a local home show and wondering how on earth I would ever afford a Christmas tree that had SO MANY items on it. I noted that the tree was so full of items that you could almost not even see the actual tree. It was gorgeous!

In 2018 I decided that instead of wishing for that gorgeous tree, I would tackle that dream and make it a reality.
You can achieve this look too, in just a few simple steps.
1. GATHER
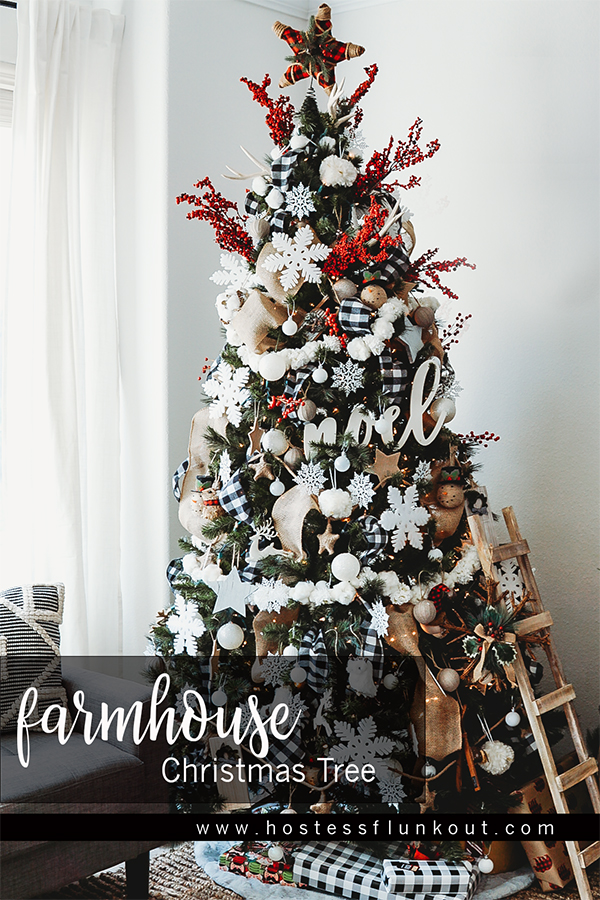
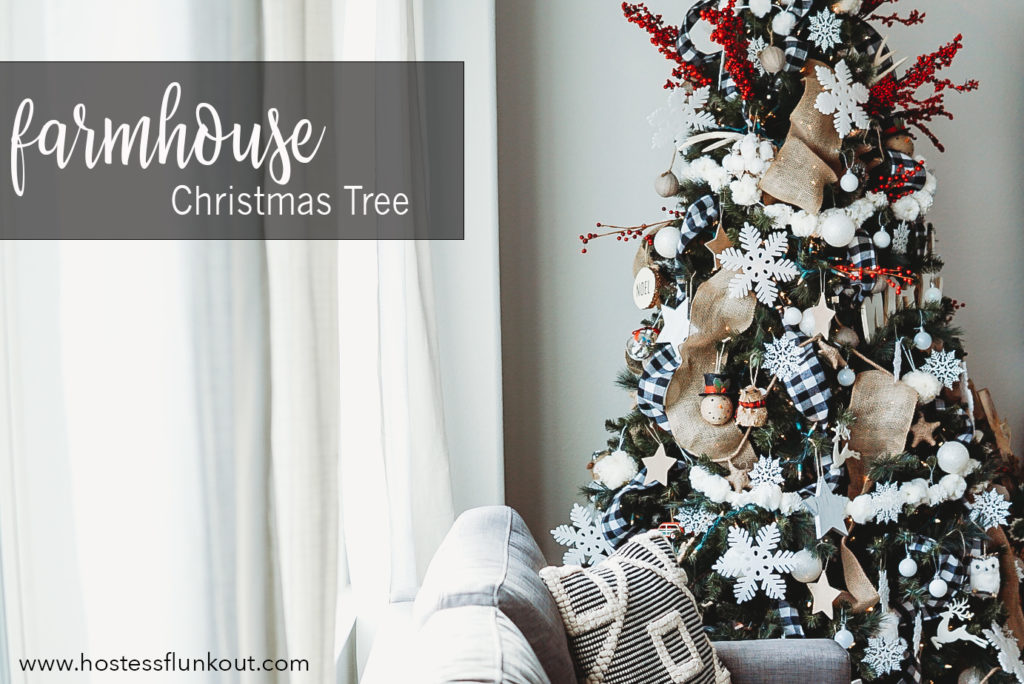
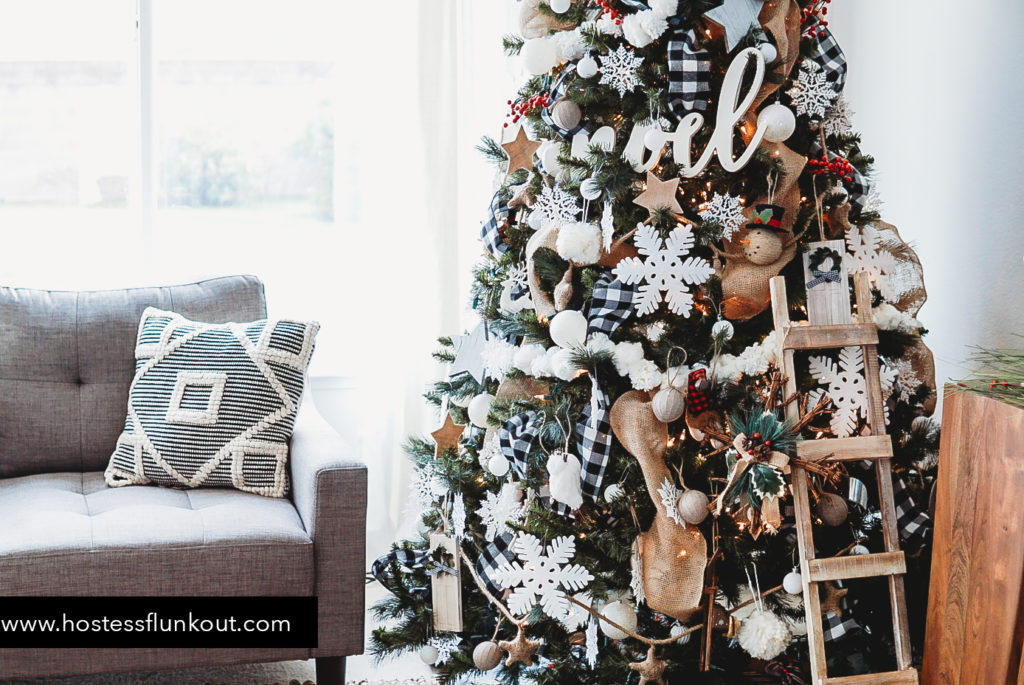
-Picking a theme and gathering items is the first step. Here I decided to go with a rustic farm house theme. I instantly knew I wanted my colors to be tan, white, wood grain colors, and a pop of red. I knew I also wanted to incorporate some buffalo checkered patterns as well. I set off to start collecting items for this tree knowing exactly what I was looking for. Gathering the items started in September for me. You know how you always here people say “You won’t believe it! It’s not even halloween yet and their are Christmas items out!!” This is the perfect time to start gathering for your tree.
2. Less is NOT MORE
The more items the better. Remember how I mentioned that tree that hardly had any green showing? You want to accomplish that. For this tree I picked out burlap ribbon, buffalo ribbon, white puffy garland that looked like snow, a huge “noel” wood piece to take up some space, and many ornaments.
3. Order of operations
You want to decorate your tree in a specific order to get everything looking perfect. Lights are first. I typically start at the bottom and work my way up around the tree. If you have left over lights, go back down the tree with them.
Ribbon is next. I cut my ribbon in 3-4 foot sections and looping those small sections in and out of the tree. I like to call these “ribbon poofs.” Place one end of the cut ribbon into the tree, loop the middle in to a section below it, poof it out and stick the end of that piece into another section. Don’t be afraid to really fill up that tree with “ribbon poofs.”
Some great ribbon options here, here, or here
Next is garland. Any garland you want to add, do it now. Do not be afraid to overlap the ribbon with garland. I usually use at least three garland pieces. On the top, middle and bottom.
Next start adding ornaments. Go for largest ornaments first, and work your way down to the smallest.
At the very end you are going to want to add your star and any elements you want poking out of the tree. In this tree I used wreath fillers found at Michael’s and added it to the top of the tree. There are no tricks to attach these to the tree. Just simply poke them into the tree however you see fit. Add as many as you want, just making sure they are spread out and come down the tree a little so that they are not all bunched up at the top.

The most important thing to remember is to not fear over decorating. It may not look perfect in the beginning as you start adding items, but as you continue on it will look more and more like a beautiful tree you can admire all season long.
Most of my ornaments were found at Hobby Lobby, Michaels, Kirklands, and Dollar Store. The burlap was found at Walmart, and the buffalo ribbon was found at Michaels.